Anyone who knows me well is aware of the fact that I love to be active. I love being in nature and exploring my surroundings and I am always on the move. I find it very hard to sit still, so after booking our trip to the Cook Islands I immediately began researching activities on the islands. One activity that kept appearing in all of my searches was the cross islands track, a track that goes across the island and takes you up to “the needle” where you can get a 360 degree view of the island. Cook Islands was supposed to be our yearly “relaxing vacation”, but I know that Elise is always up for adventure and after researching this more, I decided that this was an activity that we had to do in Rarotonga (sorry Elise)!


The cross islands track, is just that: a track that runs from one side of the Island to the other. It is recommended to traverse the trail from north-south as it is easier to follow the markings in this direction. There are a few options of getting there. You can take the bus both to and from, you can drive there and take the bus back, or if you are staying close enough, you can walk to the entrance. If choosing to drive, be aware that there is not a large parking lot at the north entrance, so it may be better to start earlier in the morning. Once you are parked and heading toward the trail, you’ll note a large rock with a picture of Pa celebrating 33 years of eco-tourism. This is how you will know that you are at the entrance of the trailhead. The trail is marked with orange markers to assist you in going the right direction. Be on the lookout for these as it can be easy to get lost on the trail.


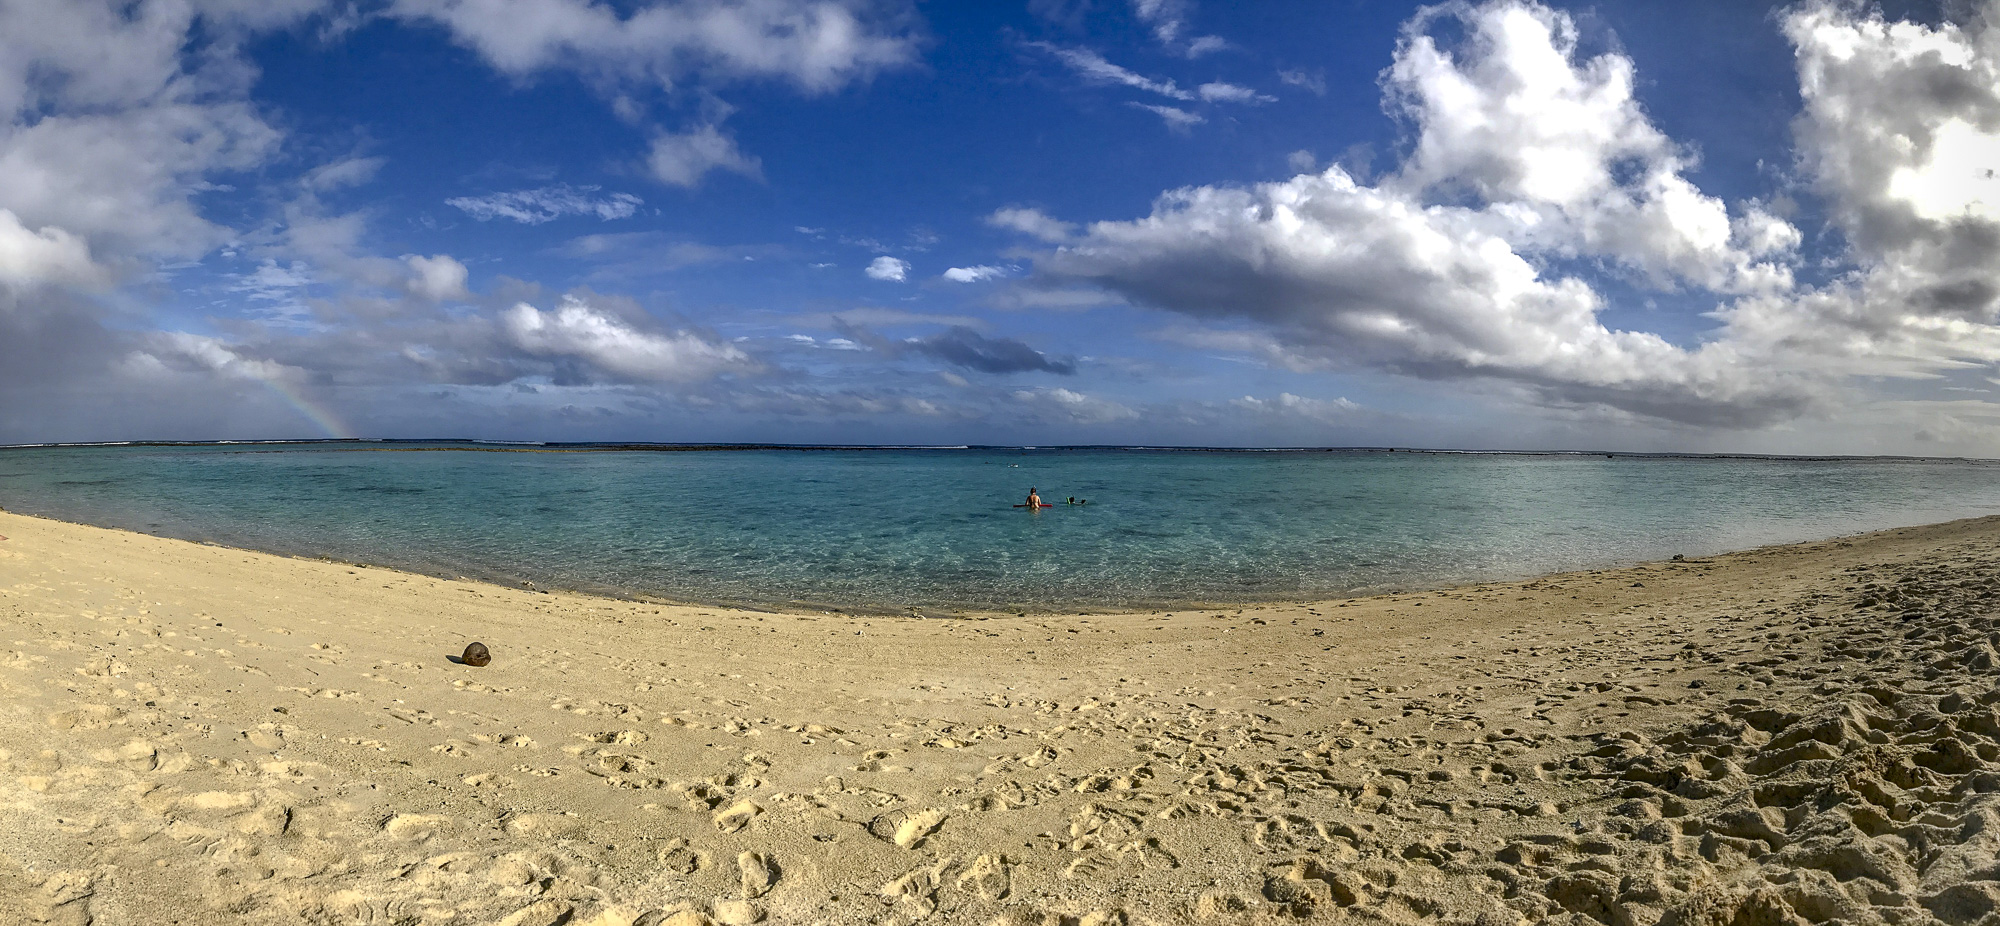
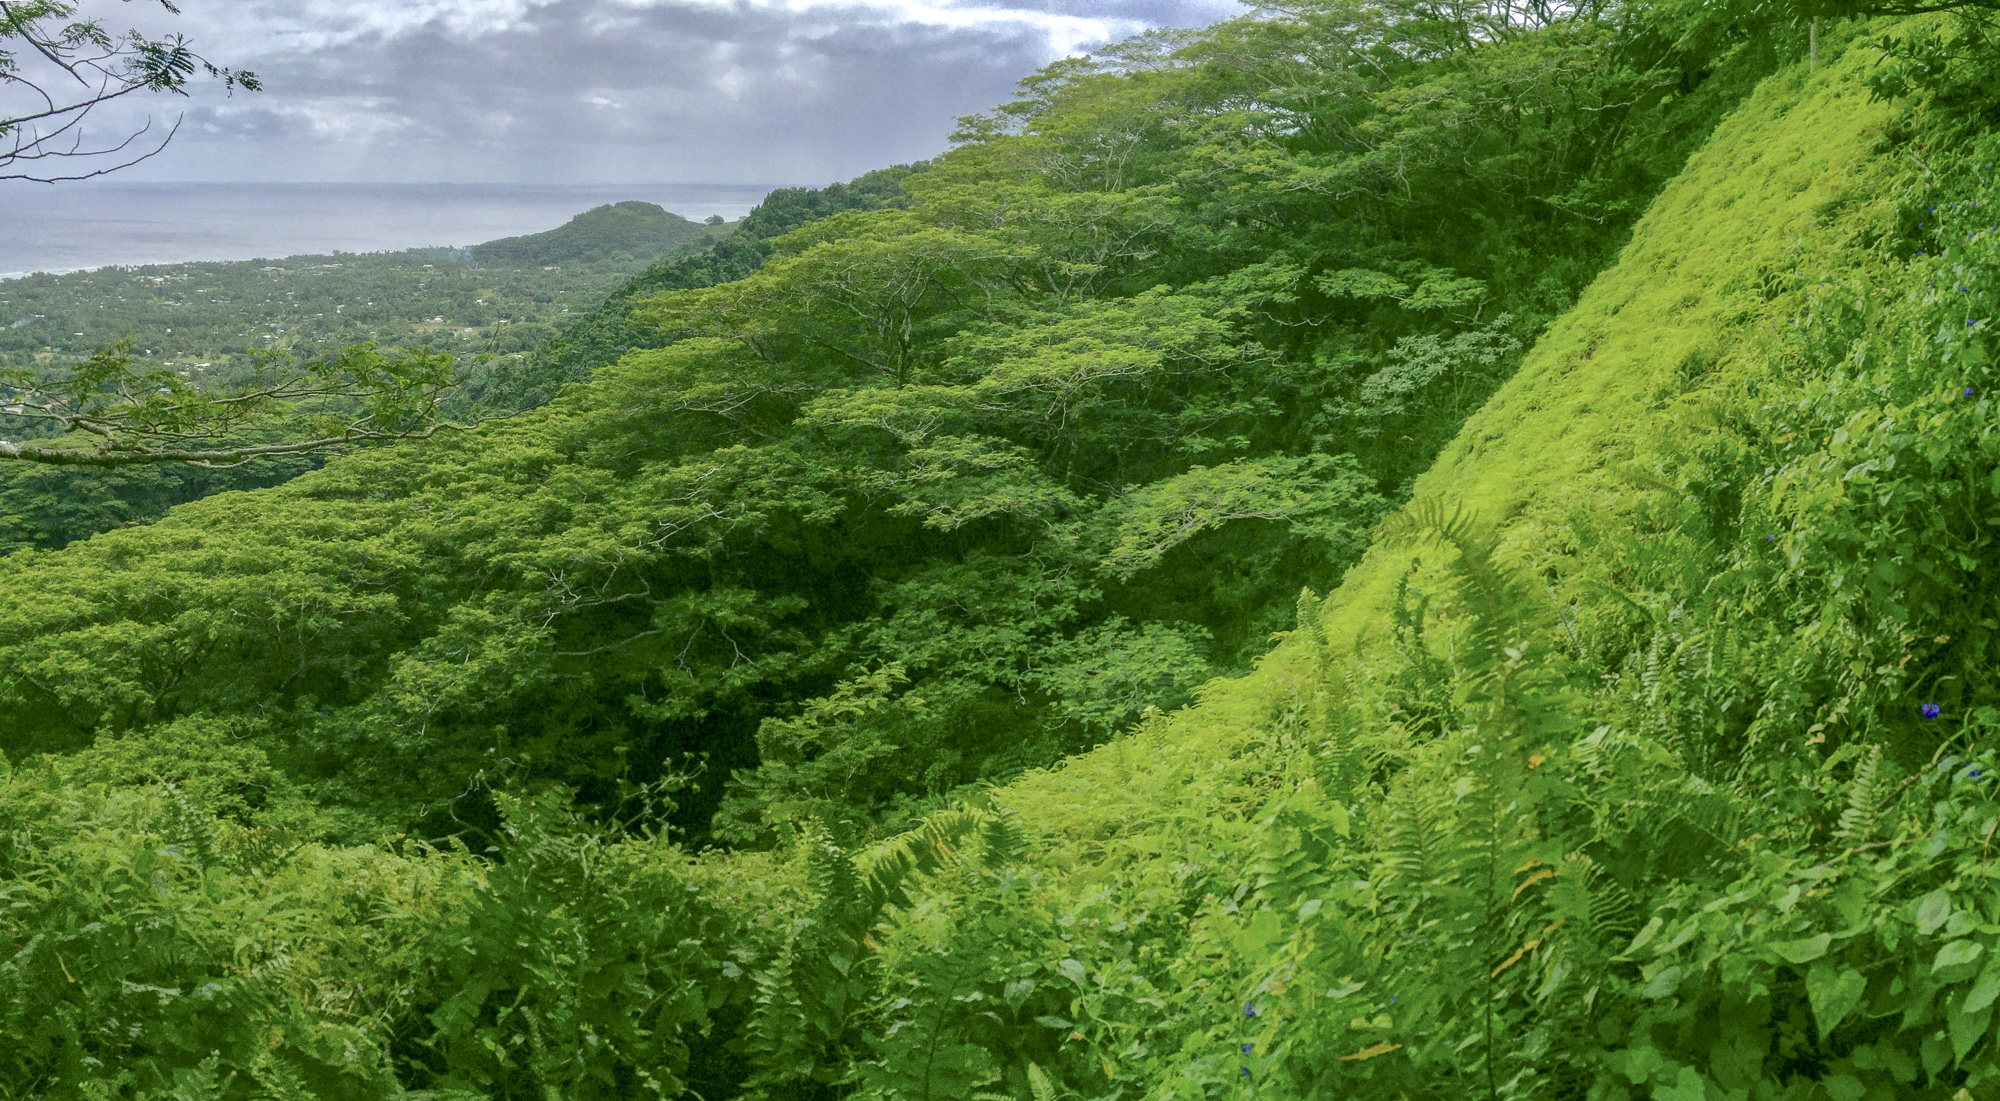
Our particular hike began at 9:00 AM on 6/13/18. We reached the needle at about 10:00 AM and the official end of the trail at about 11:45 AM. Therefore, we were on the trail for approx. 2:45. This is about average as everything we read beforehand mentioned the trail taking between 2-3 hours to complete. The 2:45 minutes that it took us included stops for photos, water and snacks, and rest breaks. This was not a particularly easy trail and we are of average fitness level. There were steep areas where we had to climb tree roots and there were even sections where we had to use ropes to help us descend muddy and steep areas. WIth that being said, the views from the needle are well worth it and aside from our average selves, we passed a few chickens (who actually helped lead the way) and other travelers wearing flip flops and carrying kids who also completed the trail. If all of us can do it, then you can too! This is an experience you should definitely not miss out on before you head back to the beach to snorkel or relax in the sunshine.


Recommendations:
- Dress appropriately and pack your day bag with the proper essentials.
*Wear good waterproof hiking shoes or sandals like keens. Areas of the trail can be very wet and slippery. You will also most likely hike through stream and over slippery rocks.
*bring a rainjacket as pop up showers are very common on the island
*bring a good supply of water. It can get quite hot on the trail and it is essential to have an adequate amount of water.
*Wear and bring mosquito repellant. Since there are wet areas and it can be humid, mosquitos love to hang out on the trail. Keep yourself protected.
*Bring snacks. You will be burning a lot of energy and may want snacks while out on the trail.
*Wear and bring sunscreen. It can get very hot in the mid-day sun.
2. Go north-south along the trail. The orange trail markers are easier to follow in this direction.
3. Don’t go alone. It can be easy to get lost on the trail and it is not recommended to go alone.
4. Go early in the morning before it gets too hot on the trail.
5. Although we discussed multiple options for getting to and from the trailhead, it is best to take the bus both ways. We chose to drive to the start of the trailhead, but then needed to take the bus back to get our car and had a long walk down the road to get back to where we parked.